
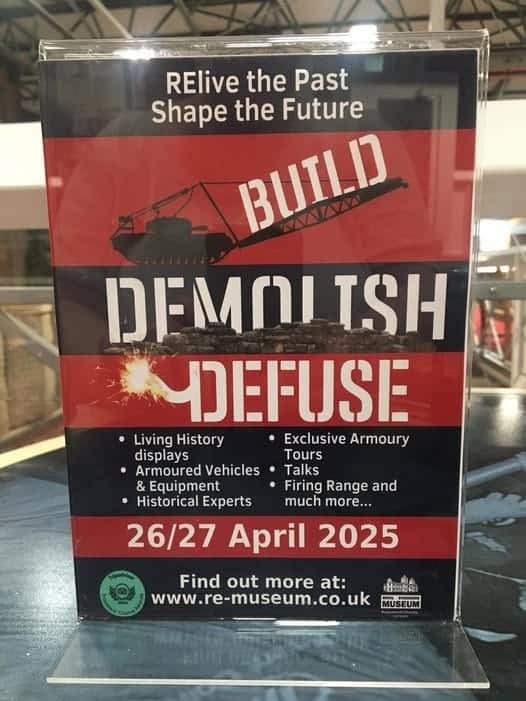
Last weekend in April I was fortunate to find myself helping at the Royal Engineer’s…
Blog


Continue Reading

Visiting the Sappers at Railway Wood
During my last 2 weeks in Belgium I thought I would take time on the…
Events

Continue Reading
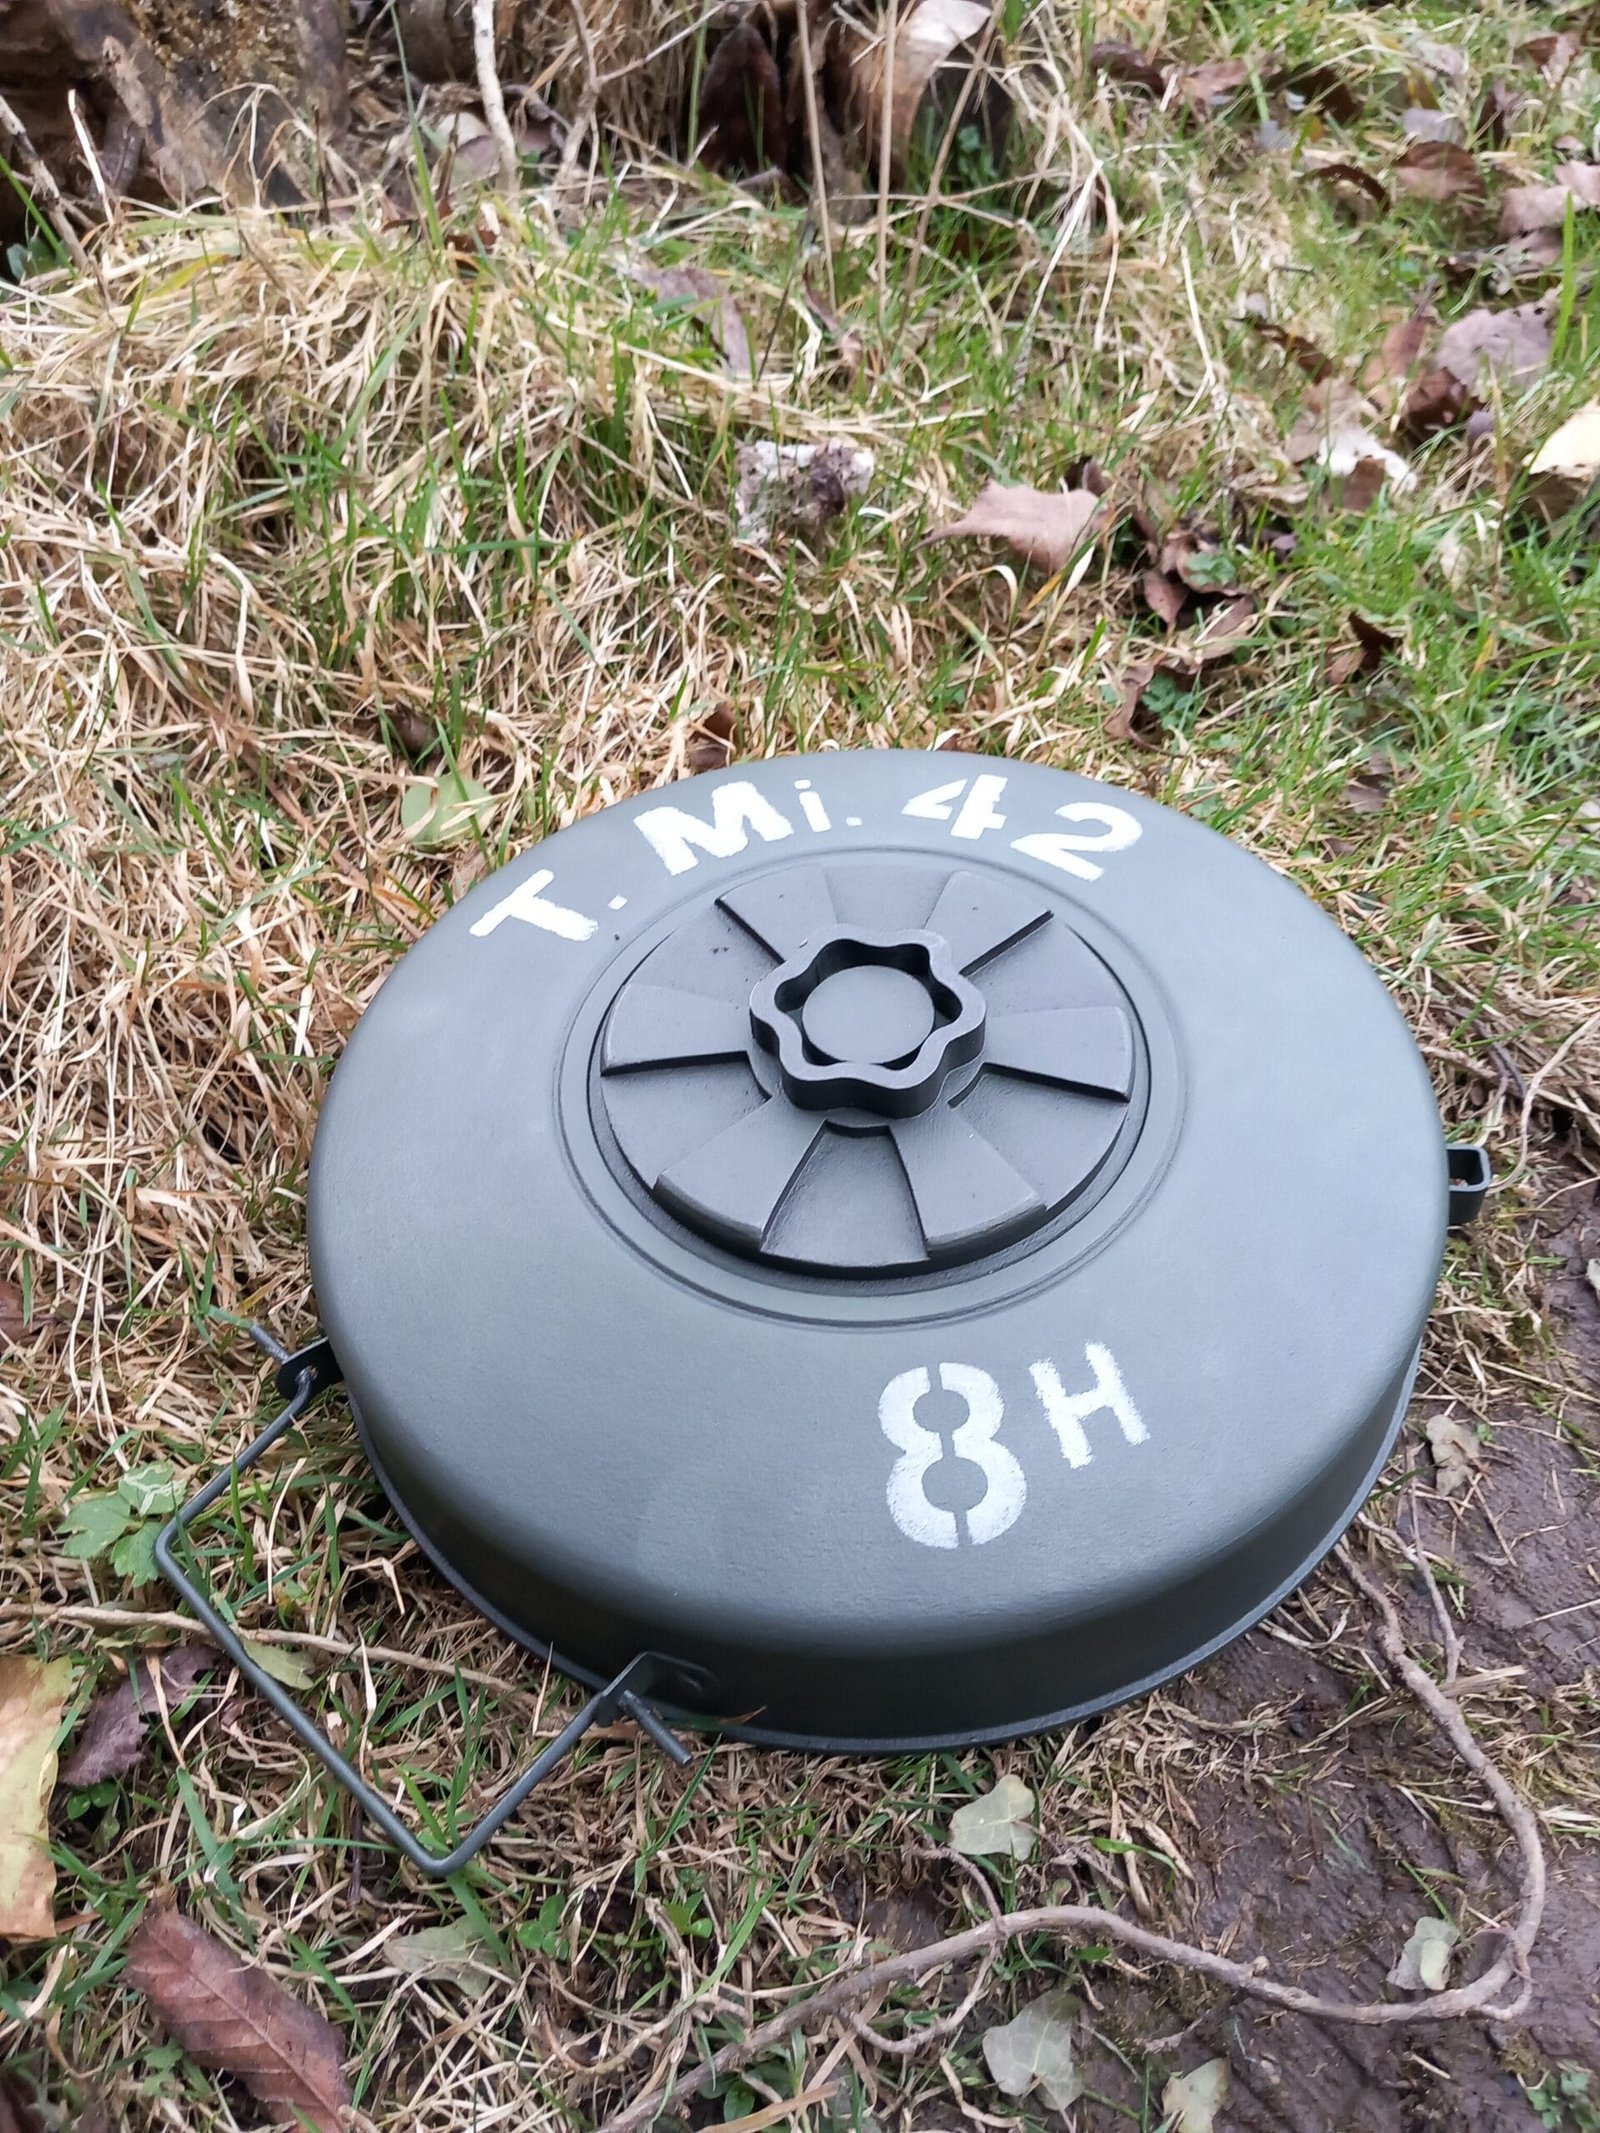
Quick Update – Adding to the WW2 Display
At the moment I’m being kept busy with the transition from being overseas to coming…
History

Continue Reading
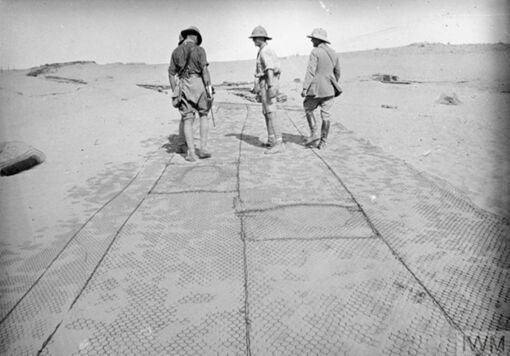
Sapper preparations for Beersheba 31 Oct 1917 (Third Battle of Gaza)
In 1917 things were picking up pace in the Middle East against the Ottomans. The…
History

Continue Reading
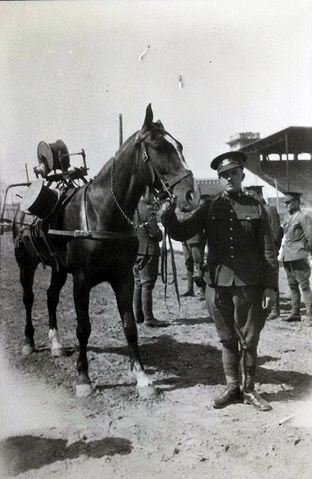
The Signals Telegraph Cable Saddle
Several years ago when I started to learn about the various types of military saddles…